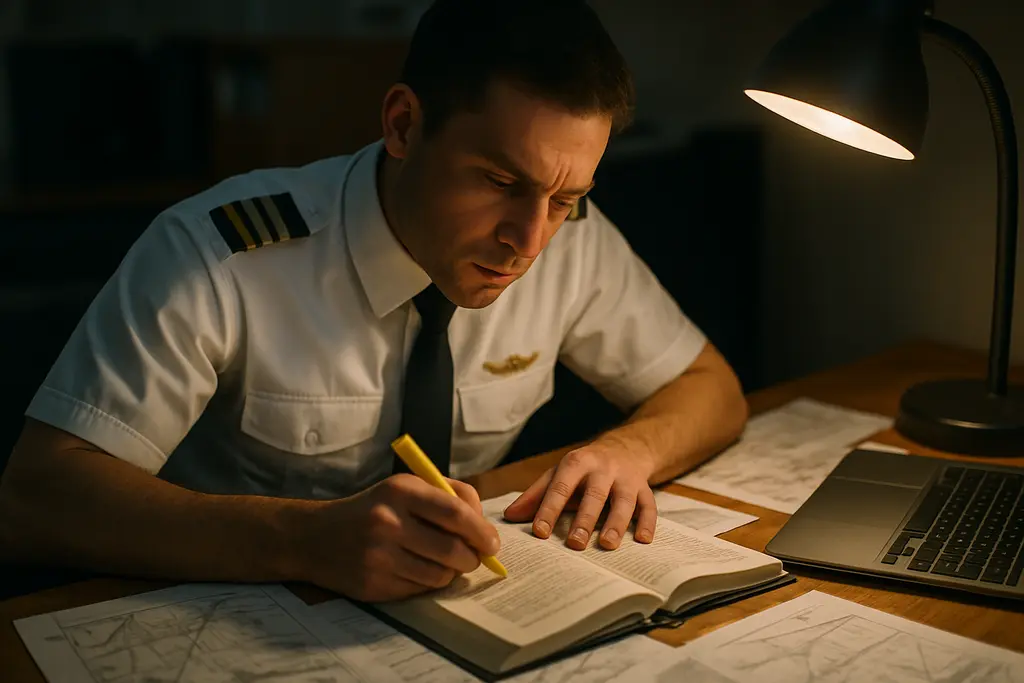
This guide will show you the clear steps to become a private pilot in the US—no misleading info. Flying isn’t just about freedom. It involves lots of checklists, making weather decisions, and intense focus. Your phone will seem less important.
We will cover all steps for pilot certification like grown-ups: eligibility, training, study, solo flights, cross-country flights, and the final checkride. I’ll also mention key topics like FAA rules, understanding airspace, and the right mindset. This helps keep you safe and out of the news.
This journey in aviation is about following specific steps, not just going with the flow. You’ll know what each step is for and how to prepare effectively. Tools like this private pilot training study guide will help you. It shows the process from lessons to practice exams.
Introduction – Why Become a Private Pilot?
I once thought flying was just for the rich and famous. Then, I discovered the real aviation world: early mornings, strong coffee, and constantly checking weather apps. It’s a life filled with quiet thrills, a touch of obsession, and a lot of practicality.
Why become a private pilot, you ask? It transforms your experience of the world. Suddenly, a long drive turns into a quick flight. And you can finish a hectic week by flying above the clouds. Having a private pilot license means more than just getting places faster; it shifts your whole view on life.
Let’s dive into the main question: what does the journey from being curious to getting your license look like? I’m here to keep it straightforward. You’ll get all the key info you’re looking for—like training, exams, flight hours, solo flights, and the final test—without any confusion.
There’s also a special way of thinking that comes with being a pilot. You learn to plan and make decisions with limited information. It’s like running a meeting, but with the added challenge of considering the wind. Flying requires calm, focus, and sharpness, not just boldness.
Here’s a quick overview of what people usually want from their pilot journey, and what I’ll cover in this article. No exaggeration, no dramatic tales—just a straightforward look at how to achieve your dream of flying.
| What you’re really asking | Where this guide takes you | How it ties to the benefits of private pilot license |
|---|---|---|
| Is this doable with a full-time job? | Prerequisites, eligibility, and a realistic training rhythm | Steady progress builds confidence and reduces expensive do-overs |
| What’s the actual “method” from start to finish? | Flight training flow: lessons, maneuvers, and decision-making | Skill plus judgment is the private pilot’s real payoff |
| How hard is the written test, really? | Study approach, ground knowledge, and exam expectations | Better knowledge supports safer trips and smoother planning |
| How do flight hours and solo fit together? | Logging time, milestones, and the first solo flight | Structured experience turns “I hope” into “I can” |
| What’s the checkride like? | Checkride prep: standards, common stress points, smart practice | A calm pilot mindset helps you perform when it counts |
If you’re drawn to the aviation lifestyle, awesome. If you’re interested in the benefits of becoming a private pilot, that’s great too. No matter your reason, getting your license is not just about the feel—it’s about taking clear, concrete steps towards your goal.
Prerequisites and Eligibility
Before you start your flight training, you need to know a few things. Aviation follows strict rules – it’s all about the paperwork. To begin training, you have to meet certain requirements. These make sure your training doesn’t just become an expensive hobby without an end.
To start, you must meet some eligibility requirements. You have to be at least 17 to get a Private Pilot Certificate in the U.S. You also need to understand English well. This is because you’ll be using radios. You can start flying lessons before you’re 17, but you can’t get your certificate until then. It’s like the industry’s way of checking your dedication and paperwork.
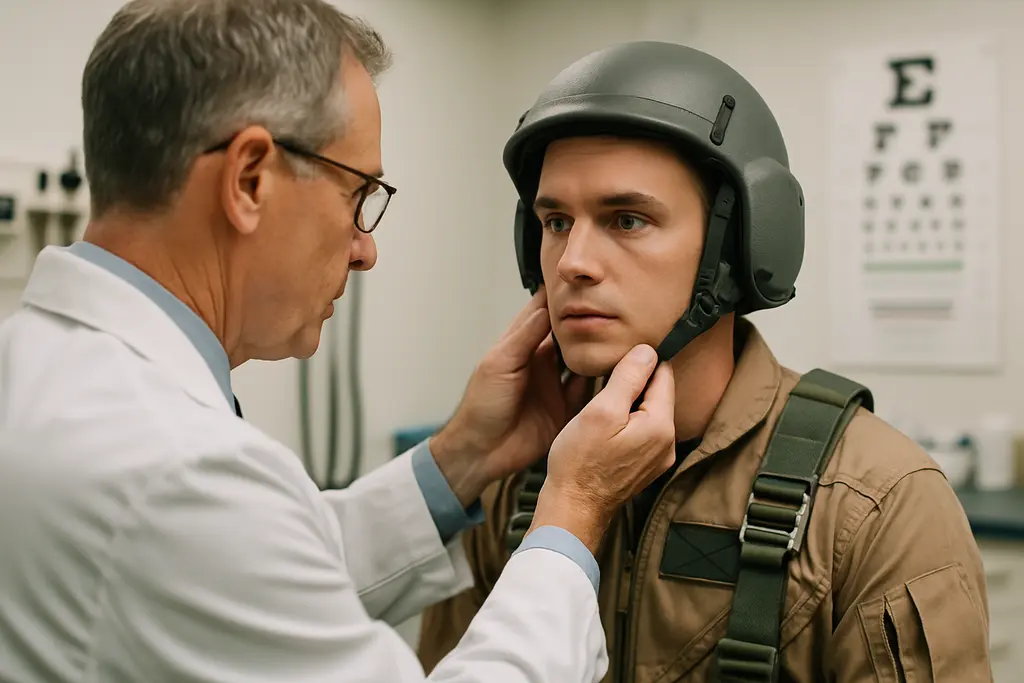
The medical part is also important. It’s more crucial to your training than you might think. You’ll need a third-class FAA medical certificate. It checks your vision, overall health, and any conditions that could make flying unsafe. If you’re not sure about your health or meds, figure that out early. If you wait, you might find yourself stuck right when you want to fly solo.
Now, let’s talk about the core terms we’ll use in this guide. Training stages include both ground and flight lessons. Exams are the FAA knowledge test and the practical test. Flight time is the hours you’ve logged, with the necessary endorsements.
| Item | What it covers | Why it matters for training preparation | What to bring or confirm |
|---|---|---|---|
| Age and language | 17+ for the certificate; English proficiency for radio work | Determines when you can finish and how smoothly you handle ATC | Government photo ID; comfort speaking and reading aviation English |
| Medical readiness | FAA third-class medical factors like vision and general health | Avoids a late stop when solo or checkride planning ramps up | Medical exam appointment; list of medications and prior conditions |
| Student Pilot Certificate | Credential needed before solo flight | Sets the timeline for endorsements and solo eligibility | Identification details; plan to apply early so training stays on track |
| Schedule and budget | Time for lessons, studying, and weather delays | Consistency speeds progress and reduces repeat lessons | Weekly availability; a realistic monthly budget for flying and ground work |
Want a smooth journey in aviation training? Start with a checklist. Make sure you’re ready for regular lessons. Do you have a quiet study area? Can you take real-time coaching, even when stressed? Think about these things before investing a lot of money.
- Documents: valid photo ID and accurate personal info for applications
- Health: a clear plan for the medical exam and any follow-up
- Study setup: a routine for learning and practice questions
- Time: consistent weekly slots for flying, briefs, and debriefs
- Money: extra funds for unexpected delays and review flights
Deal with these requirements early, and the path ahead gets easier. Ignore them, and you’ll face delays later. Aviation is all about being precise and methodical. It has no room for wishful thinking.
The Training Process
The Main Keyword may seem exciting until you’re tackling a checklist as if it were a tax form. That’s actually the point. It’s the structured approach of private pilot training that makes it effective. You learn, you apply it in flight, and you keep practicing until it becomes second nature.
Think of flight training in three parts to make it more manageable: ground knowledge, flight skills, and important milestones. Each part is crucial to the next. Missing one is like a poorly done reboot that misses what made the original great.

Ground school usually starts the journey, even if you begin flying immediately. This approach helps keep things clear in my mind. Subjects like weather, airspace, aircraft performance, and rules are essential. They’re the road rules, but sometimes, that road is in the sky.
- Ground knowledge: understanding aerodynamics, the weather, how to navigate, what affects humans in flight, and the FAA’s regulations
- Flight skills: mastering takeoffs and landings, handling stalls, flying slow, emergency moves, using the radio
- Milestones: passing stage checks, flying solo, mastering cross-country planning
In the air, it’s all about routine: a brief before you fly, the flight itself, and a debrief after. The briefing explains today’s goals. The debrief helps you learn from each flight, turning mistakes into lessons.
Here is where ideas like “consistency” and “managing workload” really play a role. You practice a move, then add another, then manage the radio, then factor in other planes, then deal with wind. This way, you build your skills step by step. It’s about learning to handle more complex scenarios gradually.
| Training component | What you do (in order) | Why it’s sequenced this way | What “good” looks like |
|---|---|---|---|
| Ground school overview | First, learn about airspace and the basics of the FAR, then onto weather, followed by performance and flight planning | Rules and weather influence every decision before you even start flying | You’re able to make informed go/no-go decisions and support them with data |
| Core flight training steps | You start with controlling the aircraft, move on to slow flight and stalls, then practice patterns and landings | Mastering control is essential; landings show how small mistakes can have big impacts | Your approaches are stable, your turns are coordinated, and you recover smoothly |
| Navigation and cross-country | You begin with basic navigation techniques, then learn to use VOR/GPS, and finally execute a complete cross-country flight | It’s important to plan ahead before longer flights and more complex airspace challenge you | You keep ahead of the plane and reach checkpoints calmly |
| Safety and abnormal scenarios | Planning for engine failures, weather issues, missed approaches, and changes in plans | While being confident and knowing your plane is important, being able to make decisions is crucial | You handle unexpected events calmly, communicate clearly, and adjust early |
In all of this, the Main Keyword is about being practical. It’s not just about logging flight hours. It’s about being ready to handle risks. The training requires patience since you must be proficient any day, not just on your best days. Keeping up with the training and staying current makes all the difference. It’s how you let the quiet, dedicated work of learning to fly reveal its true value.
Choosing a Flight School
Choosing a flight school is like picking a gym, therapist, and seminar all in one. The key is simple: early decisions shape everything later. It’s like choosing what to study, not who’s the most popular.
First, consider the location. Pick an airport that fits your real life, not an ideal version who loves early mornings. Factors like distance, weather, runway layout, and tower traffic affect your learning pace and stress levels.
Next, think about the instructors. You need a teacher, not just motivation. They should understand your errors and explain them clearly, avoiding drama.
Then, look at their methods. Even if a school looks great online, it can be disorderly. Check how they plan lessons, flight frequency, and if there’s enough planes for all. The quality of training is reflected in their schedule.
| What to evaluate | Questions to ask | What “good” looks like |
|---|---|---|
| Setting & availability | How far is the drive, and what hours can I book? | Times that suit your schedule, with consistent availability |
| Instructors | Can I do an intro flight with the same instructor I’d train with? | Clear instructions, calm guidance, and a steady presence under pressure |
| Syllabus & pacing | Is the training plan written, and how do stage checks work? | Organized progress, trackable feedback, and solid plans |
| Aircraft access | How many aircraft are available per student, and do maintenance issues often cancel flights? | Reliable schedules, clear communication about downtime, and backup plans that work |
| Outcomes & culture | How do you manage weather issues, safety decisions, and reports? | A safety-oriented culture where caution is respected, not seen as weakness |
Watch out for style over substance. Great looks can hide poor quality. Keywords like “accelerated” or “elite” are meaningless if you can’t book a flight. A good flight school answers your detailed questions with solid systems, not just an image.
Getting it right means focusing on fit over hype: your schedule, how you learn, and consistent training quality. The best choice is practical, low-key, and authentic.
Getting Your Student Pilot Certificate
If we’re talking about freedom, here’s where we hit the forms. The student pilot certificate is where your flying dreams meet official paperwork. And, the paperwork always wins.
In simple words, the student pilot certificate lets you fly solo later. It comes with your instructor’s okay because the FAA likes to keep things safe. That makes sense.
I approach getting certified like checking my plane before flying: carefully and always double-checking. You’ll prove who you are, fill out forms, and make sure everything matches perfectly. Even one mistake can cause a lot of trouble.
Before you begin, get everything ready to make the process smooth and quick. This step is where things like being eligible and keeping records straight really matter. It’s not just paperwork; it’s what allows you to fly.
- Government-issued photo ID with current, matching information
- Basic personal details you can repeat exactly every time (address, height, hair color, etc.)
- Flight school and instructor details for training authorization sign-off
- Aviation paperwork mindset: double-check everything, then check it again
Do things in the right order. It keeps you from frantically googling acronyms late at night as if it’s a mystery show’s season end.
- Begin your application with correct personal info.
- Prove who you are using your ID and required details.
- Get the okay from your instructor and double-check your application.
- Submit it and keep a record for your training files.
Making mistakes can really mess things up. I have a checklist to avoid them. It helps save time, money, and keeps you from embarrassing moments when you’ve already claimed you’re almost a pilot.
| What to Check | Why It Matters | Common Slip | Quick Fix |
|---|---|---|---|
| Name, date of birth, and address | Must match your ID and application exactly | Nicknames, old addresses, transposed numbers | Use your ID as the single source of truth |
| Email and phone number | Used for notices and account access | Typos or outdated contact info | Read it out loud before submitting |
| Instructor review and training authorization | Required before certain training milestones | Assuming “I’ll do it later” counts as a plan | Schedule the review during a normal lesson block |
| Saved confirmations and records | Helps resolve delays and supports later requirements | Not saving a copy of key details | Store a screenshot and a printed note in your flight folder |
After you finish, the student pilot certificate is more than just paperwork. It becomes a tool. It lets you access the skies while making sure you’re ready. It’s like a pass for the show, but you still need to know the songs.
Start organizing your flying paperwork from the beginning. It simplifies training later and keeps your dream of flying feeling real. It’s not just another task—it’s your step into the sky.
Passing the Written Exam
The private pilot written exam seems easy when you first mark it on your calendar. Suddenly, it’s like a surprise test with a pilot’s license on the line. I approach it as if it were a concise piece of work: brief, direct, and a testament to my full understanding.
Main Keyword and related topics aren’t just for Google—they’re for my memory. Early on, I focus on important subjects: airspace regulations, weather theory, plane performance charts, and the basics of FAR. I keep revisiting these topics, making them a constant refrain in my study song.

Preparation begins with setting a schedule, not waiting for inspiration. Motivation can be fleeting, like an unpredictable wind. A straightforward study plan makes sure the effort is manageable and consistent.
I don’t rely on simply browsing through the material. You can’t fully grasp a study guide just by its overview, similar to how research cannot be understood by its abstract alone. To truly be ready for the exam, I solve problems, get some wrong, and then figure out the reasons behind my mistakes.
- Index the brain: Note down areas where I’m weak (like weight and balance, weather charts, cross-country planning).
- Practice like it counts: Do practice tests without notes and review them immediately.
- Fix the pattern: Focus first on any concept I miss more than once.
In the private pilot written exam, you quickly learn what the test frequently asks. Questions often require interpreting METARs, TAFs, map symbols, and performance considerations. So, preparation should be more about practice and less about memorizing facts.
If I treat studying like a game of trivia, the exam doesn’t go well for me. But if I see it as a system to understand, I earn better scores.
| Focus Area | High-Value Tasks | Quick Self-Check | How It Builds Exam Readiness |
|---|---|---|---|
| Airspace and FAR basics | Learn important cloud clearances and visibility rules, then apply them in scenarios | Correctly answer 10 airspace questions in 12 minutes | Makes key topics automatic even under stress |
| Weather (METAR/TAF, charts) | Decode actual reports; identify hazards and ceilings; think about flight decisions | Translate 3 METARs and 2 TAFs without help | Helps recognize patterns in weather information |
| Performance and weight & balance | Calculate takeoff/landing data and weight shifts with examples; check your math | Solve a weight & balance and a density altitude problem accurately | Enhances study method with mathematical practice |
| Navigation and cross-country planning | Interpret a map, plan a route, and work through wind adjustments | Quickly identify 8 map symbols and 2 airspace layers | Improves preparation by integrating various concepts |
To stay true to my study strategy, I follow one rule: end every session with a set of graded questions. Not just a review set, but one that scores me. This score shows me what to work on next, keeping my readiness for the exam clear and focused.
Logging Flight Hours
Logging flight hours mixes the thrill of flying with the need for detailed records. If you don’t write it down, it doesn’t count as training—it’s just fun in the air. I make sure my logbook is neat, with clear entries, consistent language, and accurate numbers.
I track my flights in a straightforward way. I note the date, aircraft type, route, and total time. I also write down key details: dual received, solo flights, and any instrument time. This makes my flying goals clear and measurable.
Keeping a tidy log helps me see my progress. It shows my improved landings, better communication, and less hesitation. It’s about gaining pilot experience one precise entry at a time.
| Log item | What to record | Why it matters | Quick self-check |
|---|---|---|---|
| Total time | Hobbs or tach-based duration, rounded consistently | Creates defensible totals for training progress and eligibility | Does your math match your instructor’s entry? |
| Dual received | Time with a CFI, plus lesson focus (stalls, landings, airspace) | Shows structured learning, not random sightseeing | Can you name the skill you improved that day? |
| Solo time | Solo duration and pattern/cross-country details | Tracks independence for pilot experience building | Any gaps between solos that need a refresher? |
| Cross-country | Distance, legs, and identifiable endpoints | Supports long-term flight time tracking and later ratings | Are routes clear enough to rebuild the story later? |
| Notes | One or two specific observations, not a diary | Makes logging flight hours a feedback loop, not paperwork | Did you write a fix for next flight? |
I stick to “stable identifiers” in my logging. I use the same abbreviations and rounding method every time. Consistency is key when you need to show your records to others. Being consistent is more reliable than being creative.
To make the log even more useful, I add what I practiced and what I improved on. This approach keeps my flying goals realistic and makes recording my hours a habit. The real value is in treating each entry as important.
Your First Solo Flight
The first solo flight isn’t like the climax of a sports movie. It’s quieter than that, but louder in your mind. I thought it would feel like a movie, but it didn’t. It felt more like the universe saying, “You’re ready. Now show it.”
Being ready for solo isn’t just a feeling. It’s a pattern. Instructors check your skills quickly and without much sentiment. They look for things like repeatable landings, clear radio calls, and good decision-making.
This milestone in flight training seems simple: take off, fly, land, and do it all over by yourself. But it feels like a major achievement. You’re alone, but not really—you have ATC, your checklist, and gravity keeping you company.
Building confidence is a skill for me. It’s in the little things: stabilizing approaches early, going around when needed, and keeping your eyes moving. Keywords like “discipline” and “consistency” play a big role here.
| What the instructor watches | What it signals | Why it matters on a first solo flight |
|---|---|---|
| Centerline control in crosswinds | Feet and hands work together under stress | Prevents drift, protects tires, and keeps the rollout boring (the best kind of boring) |
| Stable approach by a set point | You manage energy instead of chasing it | Makes landings predictable, not improv comedy |
| Radio calls and situational awareness | You can share airspace like an adult | Reduces surprises in the pattern and keeps spacing sane |
| Go-around decision timing | Judgment beats pride | Shows solo readiness when the picture isn’t right |
When it finally happens, the cockpit seems both familiar and new. The plane flies better without my nervousness. The first solo flight doesn’t give you instant confidence. It gives you a real look at your skills, showing what true competence is when you’re on your own.
Preparing for the Checkride
The checkride feels like being in a drama without interruptions. It’s a final review. You show what you know through words, actions, and clear explanations. The goal is to be consistent in your performance across all areas.
Getting ready means understanding the Airman Certification Standards deeply. These standards are concrete goals, not mere suggestions. An examiner will quickly spot when you ignore details, just as people often skip reading the fine print. Connecting different areas of knowledge is key, as everything is related in flying.
I prepare by ensuring every topic gets attention, not just the ones I enjoy. Preparing for the oral exam reveals any gaps in your basics. Remember, showing confidence won’t help in calculating weight and balance, nor will it plan a short-field landing accurately.
- Know the story: Understand your aircraft’s documents and limits well.
- Say it clean: Brief maneuvers simply, then execute them as explained.
- Fix small errors fast: Quick corrections are a sign of professionalism.
To stay sharp, I use a method to equally distribute my focus on knowledge, skill, and judgment. This helps avoid getting caught in split-focus during training.
| Checkride area | What the examiner will probe | What I practice for checkride preparation | Common carelessness trap |
|---|---|---|---|
| Preflight & documents | Airworthiness, required inspections, limitations | Talk through ARROW, currency items, and POH limits | Rushing and missing a discrepancy or limitation |
| Weather & planning | ADM, alternates, risk, performance planning | Brief the go/no-go logic and compute realistic takeoff/landing data | Quoting forecasts without translating them into decisions |
| Aircraft systems | Normal ops, failures, and what happens next | Explain fuel, electrical, and pitot-static systems as interlinked | Using memorized phrases that don’t match the airplane |
| Maneuvers | Performance standards and control coordination | Brief, set up, fly, then self-correct within standards | Ignoring visual cues and only focusing on instruments |
| Abnormal & emergency procedures | Priorities, checklist use, and calm execution | Practice procedures in your mind, then use the checklist | Omitting steps due to overconfidence |
The essence of my approach is ensuring clear and complete understanding. Mistakes can appear as negligence in aviation. If I can explain, brief, and perform an action consistently, I am truly ready. This approach helps me stay calm and focused during the test.
Tips for Succeeding
Remember this about flight training: it values the routine over flashy shortcuts. Speed comes from taking your time and focusing on key skills like airmanship, decision-making, and situational awareness. These are what prepare you to fly well.
See each lesson as a three-part plan: a clear goal, a straightforward approach, and honest outcomes. Your instructor won’t know about the effort you put in after hours or how you encourage yourself. They’ll judge based on the effort they can see during the flight training sessions. Show them your true progress.
- Show up with a question. Just one. It sharpens your focus and makes learning more effective.
- Brief like a reviewer. Define the goal, identify the risks, and describe what success looks like today.
- Debrief like a grown-up. Point out a success, a weakness, and what to do next. This becomes a winning routine.
- Talk in standards. Whenever possible, use the language of the Airman Certification Standards. It reduces confusion.
Steering clear of common errors can seem odd because people gravitate towards easy answers. Popular claims like “I learn visually” or “I just need more hours” can mislead. They’re like political ads, not really trustworthy. Focus on real measures of your training: what you’ve done, observed, overlooked, and plan to correct next time.
For studying, short, focused sessions work best. Spend about ten minutes focused, do a quick review, then take a break. This approach is more effective and prevents your brain from getting overwhelmed.
| Training move | What it looks like in real life | Why it works | Common trap to dodge |
|---|---|---|---|
| Pre-brief with priorities | Choose 2–3 specific goals and say them out loud | It makes your effort focused and measurable | Trying to tackle everything at once and mastering nothing |
| Chair-fly with callouts | Practice with an imagined yoke, saying out flows, checklists, and radio chats | It builds timing and reduces stress, making learning more efficient | Quiet study that doesn’t apply to real-life flying |
| Error budget mindset | Plan for small mistakes, then fix them early | Helps with better control and decision-making under stress | Overreacting and blaming external factors for all errors |
| Ask for specific feedback | “Was my rollout too soon or too late, and by how much?” | Provides clear, useful information instead of just encouragement | Seeking compliments instead of helpful critiques |
| Two-minute self-audit | After landing, think of one procedure, skill, and knowledge area to review | Links lessons, enhancing your training | Putting off review and relearning the same things |
Avoid being lured by quick fixes. They may seem appealing but often lack substance. Focus instead on a steady, repeatable approach using checklists and honest feedback. This way, success in aviation doesn’t rely on chance.
Follow this approach, and on important days, your performance will reflect thorough preparation. Through consistent practice, you’ll handle challenges smoothly, communicate effectively, and face fewer unexpected issues. This is how to turn avoiding mistakes into a consistent practice.
Final Steps and Next Adventures
The Main Keyword has found its place: in your logbook and habits. The checkride is over, but the real work continues. Aviation doesn’t focus on personal journeys. It cares about consistent, skilled flying.
Moving forward, review what you can do and what should wait. Create a simple list of your minimum safe conditions. Update it as weather and other real-life challenges occur. These steps are crucial because flying well requires a systematic approach, not just a good feeling.
Seeking further certifications is about gaining tools, not just showing off. An instrument rating makes uncertain weather days flyable, with respect. Getting endorsements for high-performance or complex aircraft boosts your abilities, but doesn’t make you invincible. Each new step should come with a clear goal, thorough training, and honest feedback.
Continued learning keeps you sharp and humble. I still study FAA handbooks, review NTSB reports, and fly with instructors. Because, remember, gravity doesn’t take breaks. Receiving your certificate is just the start; the standards always evolve.