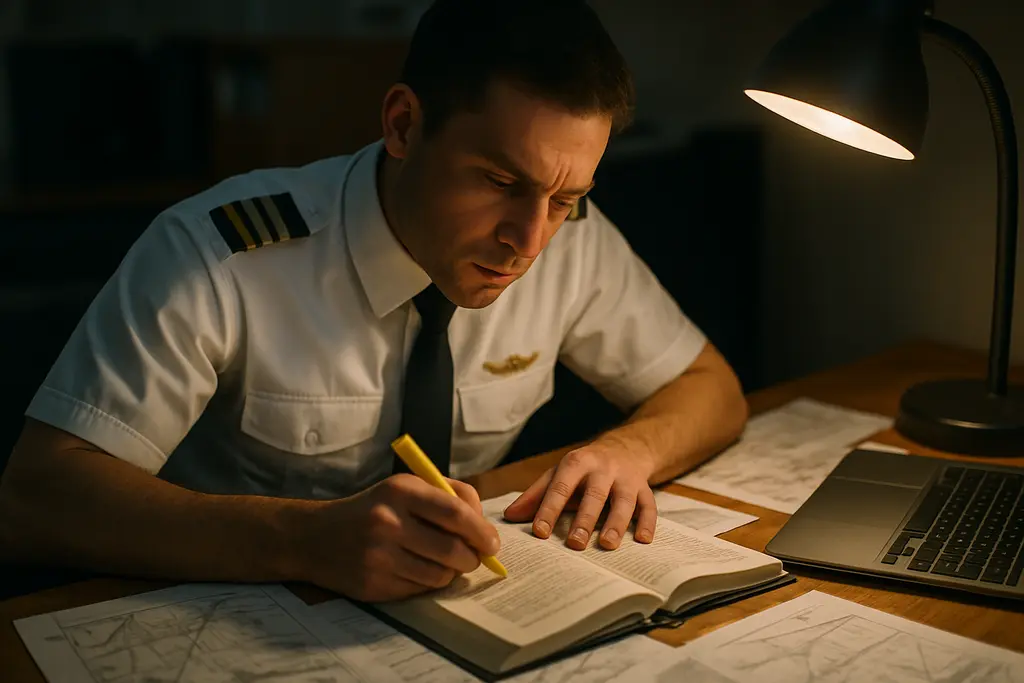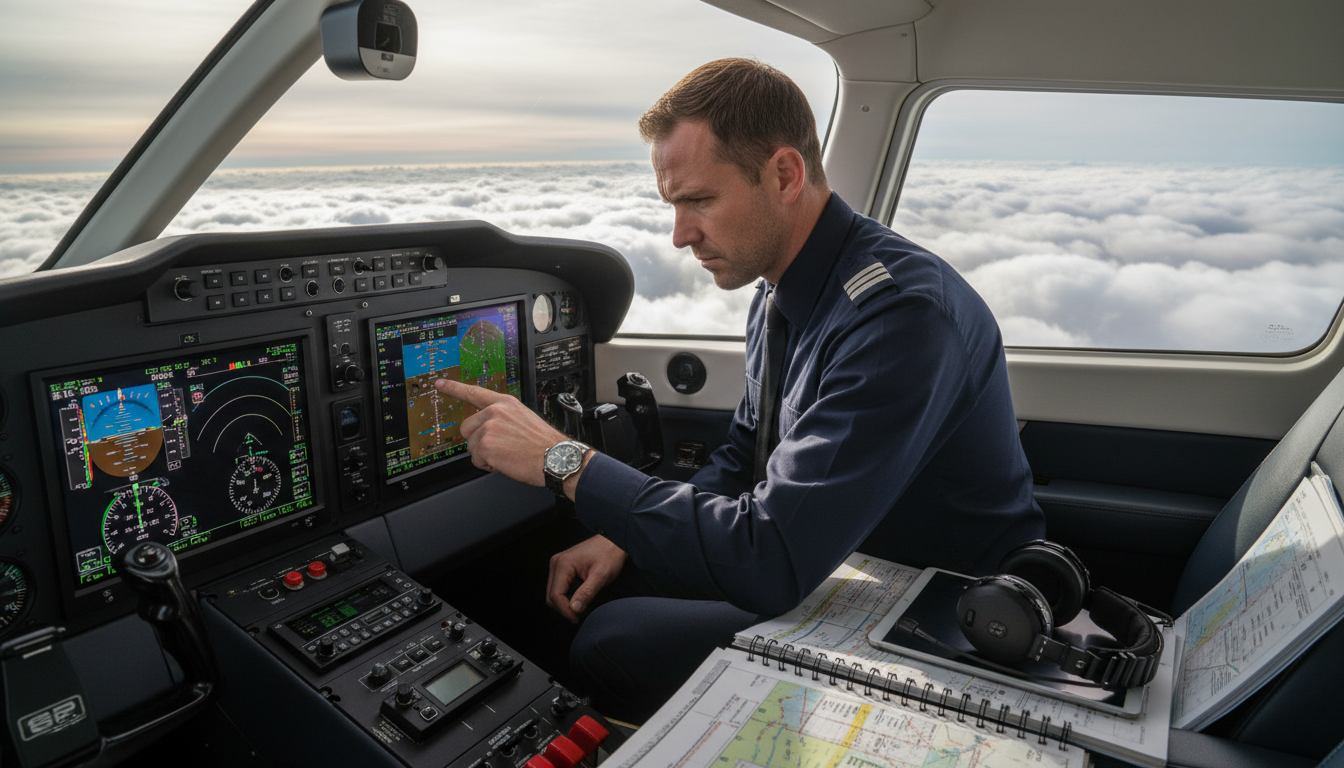
I once planned flights hoping for clear skies. But clouds or fog could ruin everything. The instrument rating changes that. It lets you fly safely through clouds, fog, and at night.
Getting your IFR isn’t just about feeling. It’s about concrete skills. You learn to navigate using tools and knowledge, not just sight. AOPA says it’s tough but worth it. You gain real confidence and might even enjoy the challenge.
Why you want your IFR matters. Maybe it’s for safety, or a step in your career. Or to fly when VFR says “no”.
Your training path for the rating is important too. Choose from flexible Part 61, structured Part 141, or a fast-paced course. Then, we’ll cover essentials like FAA rules, the 250 nm cross-country flight, and using simulators to save money.
What an Instrument Rating Is and What IFR Privileges It Adds
Getting an instrument rating isn’t just for show at the airport. It completely changes your flying style. You’ll follow more rules and plan better, leaving behind the days of guessing the weather by looking outside. It’s like moving from making things up as you go to following a precise guide.
Considering an IFR upgrade for your license? Think about this: Do you only want to fly when the sky is clear? Or do you want the ability to fly safely even when it’s cloudy and gray out?
VFR limits vs. IFR capability in real-world weather
VFR flying is perfect until bad weather hits. Then, clouds, fog, and night can quickly make you reconsider your flight. With IFR, you’re trained to handle these challenges.
An instrument rating teaches you how to fly using your instruments, navigate precisely, and stay ahead in poor visibility. Getting the IFR upgrade means you can fly confidently, even when you can’t rely on outside visuals.
How IFR changes your flight planning, clearances, and in-flight decision-making
IFR flying means flying with discipline. You’ll follow specific routes, adhere to air traffic control’s (ATC) instructions, and meet higher performance standards. It feels great to have ATC’s support, but it also means you need to respond quickly and correctly.
Your flight planning gets more detailed with an instrument rating. You’ll consider alternate airports, approach requirements, and even plan for delays. It prepares you to handle uncertainties more confidently.
Why IFR is often described as one of the most challenging and rewarding pilot upgrades
The Aircraft Owners and Pilots Association (AOPA) says that instrument training is incredibly challenging and rewarding. It’s like choosing a tough class because you want to really learn. It feels more meaningful than taking the easy route.
While training for your IFR upgrade, you’ll learn many precise flying techniques. These include different kinds of approaches and how to communicate under IFR. It’s hard work but makes flying feel more skilled than just being lucky.
| Scenario | Typical VFR Reality | What IFR Privileges Add | Core Skills You Lean On |
|---|---|---|---|
| Low ceilings and widespread cloud layers | Delay, cancel, or stay under layers while options shrink | Ability to file, fly a clearance, and use published procedures to reach an airport with a viable approach | Instrument scan, course tracking, RNAV/GPS and ILS procedures |
| Fog at destination near arrival time | Turn around early or hope it lifts before fuel becomes the boss | Structured alternate planning and the option to shoot an approach to published minima | Approach briefings, decision altitude/MDA discipline, missed approach execution |
| Rain and reduced visibility en route | More stress, fewer landmarks, higher risk of getting boxed in | ATC routing, altitude assignments, and a defined plan for separation and terrain clearance | IFR communications, workload management, holding when needed |
| Night IMC | Legal traps and visual illusions, even with “good” weather reports | Clearance-driven navigation and stabilized procedure flows when outside cues vanish | Standard rates, altitude control, instrument procedures, precise checklist use |
Why Upgrade from Private Pilot to Instrument: Safety, Utility, and Confidence
I saw the forecast like a dramatic movie preview: thrilling but unclear. Getting an instrument rating as a private pilot changes everything. It means you’re ready with a plan when the weather doesn’t play nice.
AOPA talks about three big reasons for getting your instrument rating. It’s a safety net for “just in case” moments. It helps you aim for bigger flying goals. And, it lets you fly when the weather and your schedule don’t match up.
All-weather confidence: when VFR pilots are grounded
Waiting is something no pilot brags about. VFR pilots have to wait out the weather like fog and rain, hoping it clears. But if you have your instrument rating, you swap hope for solid backup plans and clear decisions.
With this rating, you learn to trust your training over your feelings. You’ll do things like stick to your flight path and make safe landings, even when you can’t see much outside.
Productivity for personal and business flying (reliability and dispatch)
Having an IFR rating doesn’t mean taking risks in bad weather. It’s about having a set of tools that lets you plan better, choose smart alternates, and follow flight plans accurately. This means fewer last-minute changes and less stress.
For both personal and business flights, going from private to instrument usually means you can fly more often. You won’t have to cancel as much due to weather. But remember, it doesn’t make you immune to weather checks and smart planning.
Career pathway momentum (a common next step toward commercial goals)
For those aiming at a career in flying, like in airlines or medical evacuations, getting your instrument rating is a key step. Training centers and employers both see it as proof you can handle complex flying tasks and make tough decisions.
Even if you’re not aiming for a flying career, moving from private to instrument improves your flying. You’ll plan better, manage risks well, and have neater cockpit routines.
| Motivation bucket (AOPA framing) | What changes after the upgrade | What you still have to respect |
|---|---|---|
| “In your pocket just in case” safety | More options when ceilings drop, visibility shrinks, or night IMC shows up; stronger instrument scan and procedure discipline | Minimums, icing risk, convective weather, and aircraft capability still set hard limits |
| Boosting productivity for personal/business flying | More predictable trip planning with routes, alternates, and clearances; fewer weather waits and fewer reroutes by guesswork | Dispatch is never guaranteed; smart preflight planning and conservative decisions keep it useful |
| Step toward a career | Builds procedural flying habits valued in airline, charter, medevac, and corporate environments; improves workload management | It’s a milestone, not a finish line; currency, proficiency, and judgment matter every flight |
instrument rating for private pilots
I like checklists for a key reason: they’re straightforward. They don’t consider your feelings or how busy you are. When thinking about an instrument rating for private pilots, here’s the first thing to ask: do you qualify before learning complex flying tasks?
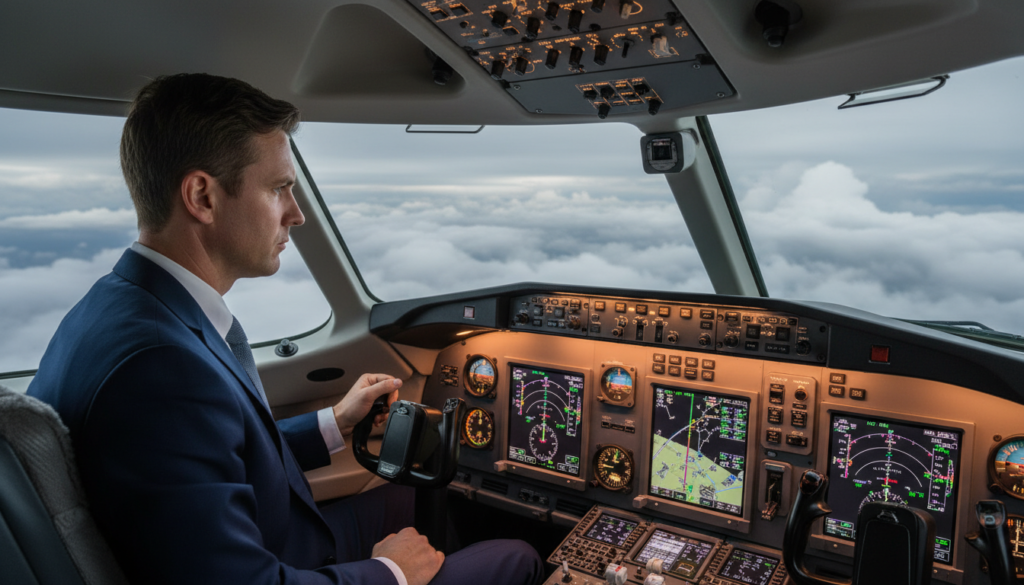
Who can apply: holding at least a private pilot certificate (or applying concurrently)
According to the AOPA, you need a current private pilot certificate. You can also apply for it as you go for your instrument rating. You must choose the right type of aircraft—airplane, helicopter, powered-lift—and stick with it. The instrument rating is about meeting strict standards, not joining an elite group.
The idea of applying concurrently is important. It’s like building a bridge while crossing it, making sure everything fits and is approved.
Language requirement: ability to read, speak, write, and understand English
There’s a strict rule: you must be fluent in English. This is because instrument flight instructions are complicated and quick. It’s the wrong time to be unsure about what’s said.
This requirement ensures clear communication. You’ll need to repeat instructions accurately and spot any errors before they affect your flight.
How “IFR for PPL” fits into long-term training plans (recreational vs. career)
Getting your IFR as a private pilot can lead you down two paths. Hobbyists enjoy the benefits like better safety and flexibility in bad weather. But those aiming for a flying career get it early. It preps them for advanced licenses and makes building flight hours more useful.
What AOPA emphasizes is your goal shapes your approach. Leisure flyers might focus on practical experience and handling the cockpit smoothly. Career seekers would aim for mastering procedures and keeping a consistent schedule. In both cases, the training enhances your flight planning, decision-making, and minimizes delays due to weather or other issues.
| Planning focus | Recreational IFR for PPL | Career-track IFR for PPL |
|---|---|---|
| Primary motivation | Safety margin and better go/no-go options for personal trips | Build a clean pathway toward commercial and advanced training |
| Training emphasis | Scenario flights, weather decisions, alternates, cockpit workload | Procedure accuracy, checkride standards, repeatable performance |
| Scheduling style | Flexible pacing around work and family, with currency safeguards | Consistent, frequent lessons to reduce skill fade |
| “Success” looks like | Confident IFR departures/arrivals and smart reroute choices | Strong fundamentals that translate to complex aircraft and ops |
FAA Instrument Rating Requirements Under 14 CFR 61.65 (Airplane)
To get an instrument rating, the FAA wants clear evidence, not vibes. The regulations in 14 CFR 61.65 are designed to support you. They ensure you’re prepared for when you can’t see the horizon.
This upgrade involves practice: flying cross-country builds decision-making skills, instrument time improves your monitoring abilities, and instructor-led sessions keep you on track. It might feel like a hassle, but it’s as crucial as having a spare battery when you need it most.
Cross-country PIC time: at least 50 hours (with at least 10 hours in airplanes for instrument-airplane)
You’ll need a minimum of 50 hours in cross-country flights as the Pilot in Command (PIC). For the instrument-airplane rating, 10 hours must be in airplanes. It’s the FAA’s way of telling you to gain experience and make decisions in different locations.
Instrument time: 40 hours actual or simulated instrument time covering required areas of operation
A further 40 hours must be in actual or simulated instrument conditions. This must include the operations listed in 61.65(c). This means you’re not just accumulating any flight hours; you’re earning specific, valuable experience.
This experience can be gained in an aircraft, on a flight simulator, or with a flight training device. The goal is to ensure your logbook reflects true skill, not just flight time.
Dual instruction: at least 15 hours of instrument flight training with an authorized instructor
For this part, you must get at least 15 hours of training specifically in instrument flight from a qualified instructor. This is when you move from just watching how it’s done to actually briefing, flying, and recovering from approaches, all while coordinating with Air Traffic Control (ATC).
Don’t overlook the importance of ground training either. According to AOPA, it can be with an instructor or done at home. However, you still need official approval that you’re ready for the knowledge test.
Checkride prep: at least 3 hours of training within two calendar months of the practical test
Right before your practical test, you need at least 3 hours of focused instrument training. The FAA ensures with this rule that your skills are sharp and current for the test.
Getting ready also means securing specific approvals: one for the knowledge test and another confirming you’re ready for the practical test. This ensures every step of your instrument rating journey forms part of a well-documented process.
| Requirement (14 CFR 61.65) | Minimum | What it’s really building | Common logbook trap |
|---|---|---|---|
| Cross-country PIC time | 50 hours PIC cross-country; 10 hours must be in airplanes for instrument-airplane | Decision-making over distance, not just laps in the pattern | Cross-country definition mistakes or missing airplane-only time |
| Instrument time | 40 hours actual or simulated, covering 61.65(c) areas of operation | Scan discipline, procedures, and staying ahead of the airplane | Logging time without matching required areas of operation |
| Dual instrument instruction | 15 hours with an authorized instructor in the appropriate aircraft category | Real-time coaching, corrections, and standardization | Instructor not authorized for the category/class used |
| Practical test warm-up | 3 hours within two calendar months before the checkride | Recent proficiency under IFR-style workload | Timing slips past the two-month window |
| Process and endorsements | Training may be in aircraft, flight simulator, or flight training device; endorsements for knowledge and practical tests | Accountability and documented readiness for the system you’re entering | Missing endorsement language or incomplete training records |
The IFR Cross-Country Flight Requirement You Must Log
The long IFR cross-country for private pilots is more than just extra training. It’s a test of your judgment. You’ll consider weather, alternates, fuel, and ATC in your plans. This flight shows you can plan, brief, and adapt efficiently.
The FAA sets a clear, yet challenging requirement. You must fly an IFR cross-country in a plane. This flight builds real-world experience beyond simple pattern work. The AOPA has detailed info on instrument rating requirements.
IFR route structure
Your flight must be at least 250 nautical miles along designated airways or as directed by ATC. This means your route choice matters. Expect ATC to potentially change your plans. This is a key part of the learning process for pilots.
Learning to manage workload is critical in this phase. Handling clearances, frequencies, and reroutes while piloting efficiently is crucial. Being prepared always beats “stand by” as a plan.
Approach requirements
You must complete an instrument approach at every airport visited. This not only involves landing but also preparing, briefing, and executing procedures multiple times. Repetition here is vital. It teaches lessons humility and precision.
You’ll see how errors can build up, especially when fatigued or rushed. This is why the requirement is crucial for learning.
Navigation variety
You have to perform three different kinds of approaches: ILS, VOR, and GPS (often RNAV/GPS). This ensures you gain a broad range of skills. For pilots, being adaptable and versatile is essential.
| Approach type | What it tests in real time | Common cockpit pinch point |
|---|---|---|
| ILS | Precision tracking, tight tolerances, disciplined scan | Chasing needles instead of flying a steady correction |
| VOR | Course interpretation, wind correction, situational awareness | Slow setup and late turns when workload spikes |
| GPS/RNAV | Automation setup, procedure loading, mode awareness | Button fatigue: one wrong selection, one big distraction |
This one flight combines everything: planning, clearances, approach setups, and staying adaptable. It’s a practical stress test. For pilots, it’s the best prep for the checkride.
What You’ll Learn in IFR Training: Approaches, Holds, Missed Approaches, and ATC
Thinking IFR training is just about “follow the needles”? That’s like expecting Top Gun without the beach scenes. Learning IFR for a private license is like picking up a new language. But the rules keep changing. It’s all about brief, fly, verify, and decide.
Yes, it’s packed with technical details. But it’s also about making smart choices, not having a sudden “aha” moment.
Precision and nonprecision procedures: ILS and RNAV/GPS approach flows
You’ll master the precise ILS, focusing on localizer and glideslope. Feelings take a backseat here. RNAV/GPS approaches reward good planning. And VOR procedures might seem outdated, but they can be lifesavers.
Managing the sequence is key in IFR training for PPL: briefing, loading, identifying. It’s about staying ahead of the plane. This is when “winging it” becomes a hazard, not a trait.
Holding patterns, course intercepts, and instrument scan discipline
Holding is a mix of time, wind, and a bit of ego. You’ll get good at entries, timing, and correcting for wind. Keeping track of your course and maintaining a steady scan become second nature. That’s because getting fixated can mean getting lost.
Scan discipline is crucial in IFR training for PPL: focus on attitude, heading, altitude. It’s about rhythm in your tasks, not just hitting the beats.
Missed approach execution and workload management
Practicing missed approaches is about following a set plan, not making it up. You’ll learn to adjust power, clean up, and communicate, all within strict limits. It’s in these moments that you’ll deal with failures and surprises, just like in real life.
Dealing with surprise teaches you to calm your mind, not rush your actions.
IFR ATC phraseology, clearances, and communications under pressure
Clearances are brief for a reason. You’ll learn how to copy and repeat information clearly. When it’s busy, speaking clearly is about safety, not just politeness.
The IFR upgrade improves how you plan for low-visibility flights. It helps you make smart choices about alternates, fuel, and dealing with weather. It’s not about sounding cool; it’s about clear communication when it matters most.
| Training focus | What you practice | What you’re trying to prevent |
|---|---|---|
| ILS precision approach | Localizer/glideslope tracking, stabilized descent, decision discipline | Chasing needles, unstable arrivals, late corrections near minimums |
| RNAV/GPS and VOR procedures | Loading the approach, fixes, step-downs, course tracking, raw data cross-check | Wrong mode selection, missed fix crossings, navigation complacency |
| Holding and intercepts | Entries, timing, wind correction angles, standard-rate turns, scan rhythm | Drifting off the hold, altitude wandering, task saturation |
| Missed approach | Power/pitch sequence, climb, configuration, lateral guidance, published routing | “Surprise” turning into an incident, losing altitude/heading control |
| ATC communication | Clearance readbacks, approach requests, workload calls, concise corrections | Misheard clearances, silent confusion, avoidable reroutes and errors |
Choosing the Right Training Path: Part 61, Part 141, or Accelerated IFR
Deciding how to progress from private pilot to instrument rating can feel overwhelming. It’s a bit like picking a workout plan where everyone thinks theirs is the best. The key is finding what fits your lifestyle, how you learn, and your flying goals.
For those adding an instrument rating, it’s crucial to choose a plan you can stick with. Skipping sessions can make procedures hard to recall, much like forgotten policy reports. Consistency and a good ground school make the difference.
Part 141 structure vs. training flexibility with a local instructor
Part 141 training is all about structure: you follow a set syllabus with clear checks along the way. This method is great for those who want a predictable path from private pilot to instrument, without having to negotiate every step.
Choosing a local instructor under Part 61 offers a personalized and flexible approach. It lets you adapt your training to fit your schedule and local conditions. This path requires you to be honest with yourself to keep making progress amid life’s distractions.
Accelerated courses: typical completion timelines around 10–12 days (and who they fit best)
Accelerated IFR programs get you through training in about 10 to 12 days. They pack in flights, sim sessions, and ground school with minimal breaks. Some programs will train you in your own plane, either at home or at their location. It’s ideal for those wanting to focus without distractions.
This approach suits pilots ready to commit their full attention and who are well-prepared. Showing up unprepared might make the experience feel overly rushed. It’s best for those with solid study habits and aircraft ready for daily flying.
How your “why” affects the best training method
Why you’re training influences the best approach. If safety is your concern, training that focuses on realistic scenarios might be best. This method helps make the skills second nature, especially under stress.
For those on a career path, the structure and speed of training are crucial. A formal program keeps you on track and builds habits that last beyond the checkride. Accelerated programs can be appealing for their efficiency and speed.
| Training path | Best fit | What it optimizes | Common friction points |
|---|---|---|---|
| Part 141 program | Pilots who want a defined syllabus and steady accountability | Standardization, predictable milestones, consistent evaluation | Less flexibility when work or weather interrupts the calendar |
| Local instructor (Part 61 environment) | Pilots balancing training with a busy schedule and local flying needs | Customization, familiar airspace, pacing that matches real life | Inconsistent lesson spacing can slow private pilot to instrument progress |
| Accelerated IFR course | Pilots who can take time off and arrive prepared for an intense push | Speed, immersion, fewer “relearn” sessions, rapid confidence-building | Mental fatigue, logistics, and high workload if ground prep is weak |
Choose your training path wisely. See ground school as crucial, not just a preliminary step. Study consistently, understand what you’re learning, and know your limits. This way, an instrument add-on becomes a lasting skill, not an unfinished task.
Using Simulators and Flight Training Devices to Save Money and Build Reps
At first, I thought real learning happened only in the sky. But then, I saw the power of doing setups over and over without delays. No waiting for taxis, worrying about fuel, or weather issues.
For earning an instrument rating, simulators and training tools help you get more practice. You can go through flying exercises and repeat them without waiting. This isn’t just playing pretend; it’s about getting better through practice.
The FAA’s rules on logging simulator time are essential. AOPA’s guide makes it easy to understand. These rules vary by the device and who’s providing the training.
Part 142 credit: up to 30 hours
Under Part 142, you can log 30 hours in simulators for your instrument rating. This gives you lots of time to work on your skills without the cost of fuel.
Non-Part 142 credit: up to 20 hours
If you’re not under Part 142, you can still log up to 20 hours. This time helps you improve your flying approaches and feel more at ease with air traffic control talks.
ATD credit: up to 10 hours
You can also use an aviation training device (ATD) for up to 10 hours. Think of ATD time as gym work; it’s where you build the skills that help when things get busy.
| Training option | FAA-logged maximum (AOPA summary) | Best used for | Why it saves money |
|---|---|---|---|
| Flight simulator or FTD (Part 142) | Up to 30 hours | High-rep holds, approach sequences, missed approach choreography | More repetitions per hour with fewer cancellations and no fuel burn |
| Flight simulator or FTD (not Part 142) | Up to 20 hours | Procedure polish, avionics workflows, “say it-then-fly it” habits | Less aircraft time spent relearning the same setup |
| ATD | Up to 10 hours | Scan discipline, buttonology, checklist rhythm, basic approach tracking | Lower hourly cost for targeted practice blocks |
Certain schools push for repetition. For example, Executive Compass Flight Institute combines plane training with an ALSIM AL250 simulator. This method lets you practice tricky parts in a controlled space.
This approach for your instrument rating is straightforward. Use simulators to master your routines. Then, in the plane, show you can do them even when things like weather or nerves try to throw you off. This mix moves your rating from just getting by to real skill.
Instrument Rating Options and Upgrade Paths: Single-Engine to Multi-Engine IFR
I used to believe getting an IFR for a private license was like instantly upgrading technology. Turns out, it’s more gradual, like advancing levels where your skills evolve with different planes.
If flying twins isn’t your goal as a private pilot, starting with a single-engine is smart. You can always upgrade later. This approach turns the idea of an instrument add-on from a sales pitch to a solid plan.
Single-engine now, multi-engine later
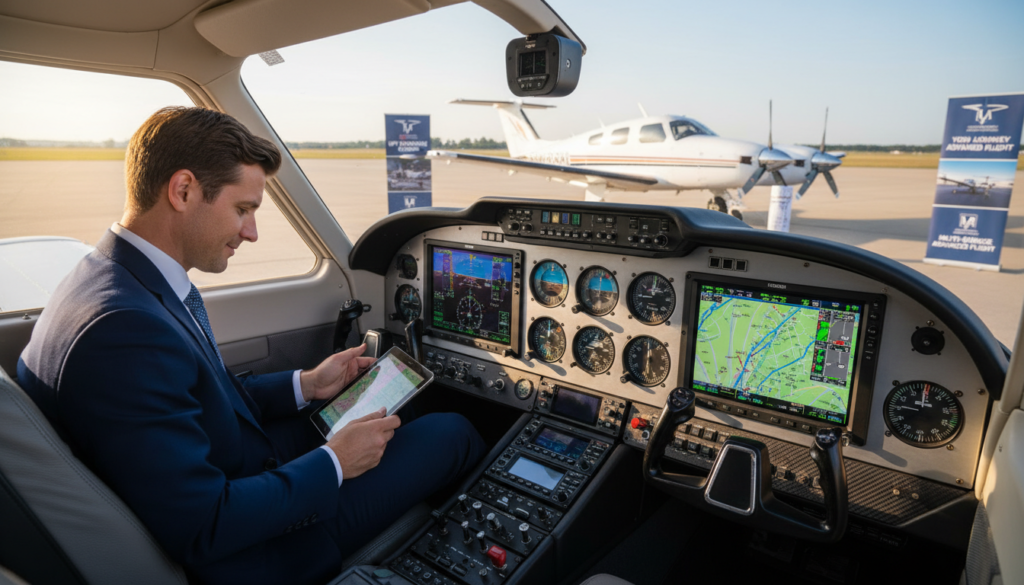
Learning instrument flying with a single-engine plane is simpler. It helps you master scanning, following procedures, and communicating with ATC while not worrying about extra engines. You still get to navigate using approach plates and deal with various in-flight scenarios.
At Genesis Flight College, they categorize the upgrade path in a straightforward manner:
- Group 1: flight test done in a multi-engine plane (seen as vital for jobs).
- Group 2: flight test done in a multi-engine plane with centerline thrust.
- Group 3: flight test done in a single-engine plane.
See this list as a way to plan your upgrade. You can start in Group 3 and move up as your goals and budget allow.
Why “Multi-IFR” gets sold as a milestone
Pairing multi-engine with IFR often seems like a big achievement because it brings more capabilities and looks impressive. Executive Compass Flight Institute offers a combined Multi-IFR course. It’s aimed at preparing for specific missions like medevac and charter flights.
The key is stacking skills. You learn to manage complex approaches and navigate IFR communications. This advanced training keeps the foundation of instrument skills but with added challenges.
Matching the add-on to your future missions
If you see yourself flying a twin in the future, choosing training that reflects that can ease the transition. Executive Compass suggests training in a Piper Seneca II, along with ALSIM AL250 simulator use. They offer a quick course over 4-6 weeks with day/evening/weekend classes in Calgary (YYC).
Even if you’re training in the U.S., the message is clear: Pick an IFR upgrade that fits your flying dreams. It’s about aligning the training with what you truly want to do, rather than just for show.
| Path choice | What you train hard on | Where it tends to fit best | Upgrade angle |
|---|---|---|---|
| Single-engine instrument first (Genesis Group 3) | Instrument scan, procedures, workload basics, clean ATC flow | Personal travel, training efficiency, budget control | Later move to a twin and add complexity after the IFR foundation is stable |
| Multi-engine instrument checkride (Genesis Group 1) | IFR procedures plus twin systems, performance planning, higher task saturation | Pilots targeting multi-engine operations and broader marketability | Builds early familiarity with twin workflows while completing the IFR upgrade for private license |
| Multi-engine centerline thrust (Genesis Group 2) | IFR precision with a centerline-thrust twin’s handling quirks and limitations | Niche training scenarios; bridging step for certain fleets | Can support a later transition to conventional twins depending on goals |
| Bundled Multi-IFR program (Executive Compass Flight Institute model) | Integrated ground/sim/flight reps; approaches, holds, missed, IFR comms under tempo | Time-compressed training with a clear mission focus (medevac/charter/corporate) | Positions the instrument add-on as part of a performance-and-reliability upgrade narrative |
Practical Tips to Finish Your IFR Upgrade Efficiently and Avoid Training Plateaus
Moving from private pilot to instrument feels more like changing gears mid-air than just leveling up. The instruments you use get smarter, but mistakes also stand out more. But remember, most training slow-downs happen because of breaks in practice, unclear goals, or not understanding the why behind procedures.
If you’re aiming for an instrument rating, think and plan like an expert would. Work on getting direct feedback, practice efficiently, and be ready for what the weather can throw at you.
Consistency matters: pacing lessons to match your schedule while staying current
At Genesis Flight College, they talk about learning at your own speed. But, it’s important not to mistake this for having no schedule. If you wait too long between lessons, your instrument checks might start to look a bit off.
To smoothly move from private pilot to instrument, try setting up a regular learning schedule. For example, combine a flight focusing on your piloting skills with another session on planning and understanding systems every week, if possible.
Ground school focus: mastering regs, procedures, and systems knowledge early
Genesis stresses the importance of paying close attention during ground school to save money and time later on. The AOPA mentions you can log ground training hours with a certified instructor or through self-study at home. Either way, the topics listed in 61.65(b) will test you when you least expect it.
Understanding the reasons behind regulations and procedures can speed up your instrument rating process. Once you’re comfortable with the rules, flying becomes less about guessing and more about knowing.
Scenario-based practice: weather decisions, alternates, and risk management
Just practicing won’t cut it when the weather turns bad and you’re under pressure. The AOPA’s IFR Fix and their Pilot instrument series emphasize that IFR is about making smart choices, not just following steps.
Create practice scenarios that challenge you to make tough calls. Examples include dealing with bad weather, managing fuel stops, or navigating with limited instruments. This type of training prepares you to think ahead, rather than just react.
Checkride readiness: endorsements, weak-area targeting, and final polish flights
Being ready for your checkride means having the right paperwork and practicing till you can’t get it wrong. Make sure you’ve got the necessary endorsements for both the written and practical tests well in advance.
AOPA highlights the FAA’s rule requiring 3 hours of instrument training within the two months before your test. Use this period to focus on areas you’re not strong in and simulate full-on missions. This approach helps make sure you’re not just going through the motions.
| Plateau trigger | What it looks like in training | Efficient fix | What to track |
|---|---|---|---|
| Long gaps between lessons | Chasing headings, late power changes, scan breaks during approach briefing | Two short sessions weekly: one procedures flight, one planning/briefing session | Approach stability: localizer/GP trend, altitude deviations, missed callouts |
| Weak regs and IFR “rules of the road” | Confusion on alternates, takeoff mins, currency vs. proficiency | Lock in 61.65(b) topics early via instructor-led ground or home-study, then quiz yourself aloud | Accuracy on oral-style questions and clean, consistent briefings |
| Procedure-only practice with no realism | Great in calm air, overwhelmed when weather or workload shifts | Scenario flights: weather decisions, reroutes, partial panel, missed approach to diversion | Workload management: timing of config changes, frequency management, task prioritization |
| Last-minute checkride scramble | Endorsements delayed, weak spots ignored, “hope” as a study method | Plan endorsements early; use the required 3-hour window for weak areas and full missions | Repeatable checkride flows: clearances, holds, approach setup, missed execution |
Getting your instrument rating takes steady effort rather than dramatic gestures. Keep your practice regular, make each lesson count, and approach every training session as if you’re already flying in IFR conditions. That mindset will serve you well once you achieve your rating.
Conclusion
I used to see an instrument rating as just an extra. Then, bad weather taught me its true value. It means planning carefully, communicating clearly, and making smart choices.
The FAA’s rules are key, and the AOPA’s 61.65 summary shows it clearly. You’ll need 50 hours of cross-country flight as PIC and 40 hours in instrument conditions. There’s also 15 hours with an instructor and prep for a 3-hour checkride. The big test is a 250 nm IFR cross-country flight, landing at different airports, proving you can handle different types of navigation.
Choosing how to get your IFR rating is personal. Part 141 offers a structured path. Part 61 offers flexibility with a local instructor to fit your schedule. Or, consider an intense 10-12 day course, if you’re ready for a challenge.
Even with IFR, weather doesn’t disappear. It means you’re prepared to face it with solid skills and judgment. Getting an IFR rating is more than adding to your license. It’s about being ready, no matter what the weather is.